
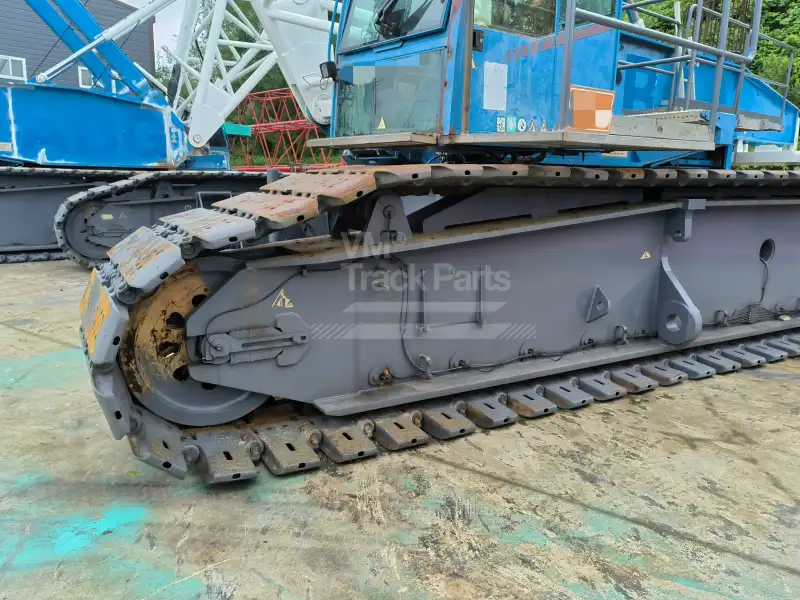
The replacement of Liebherr Crane Track Shoe involves a very accurate and risky maintenance process. The timely replacement of track pads is necessary in order to maintain proper traction, avoid damaging the undercarriage of the crane, and ensure its operation. Below are instructions on how this procedure should be done.
Preparation Before Replacement
Setting Up at the Work Site: Place the crane on the sturdiest and most level place. Lower the main boom completely and lock all the safety devices of the attachment. Stop the engine of the crane and activate the safety locking system.
Track Positioning: Use the control mechanisms to operate the travel of the track to position the master pin just above the front idler. It is only at this particular point that it is possible to lay out the track assembly.
Relieving the Track Tension: This is the most critical and risky step of the entire process. Find the lubricator (grease valve) of the track adjustment cylinder and slowly open it (not more than one complete turn).
Removing Process Step-by-Step
Master Pin Extraction: The process starts by removing the master pin using hydraulic tools, such as a “Remover and Installer” or a hydraulic press. It typically comprises a hydraulic cylinder, a hydraulic pump, and various adapters to pull the pin out of the track chain.
Track Layout: After removing the master pin, insert a block between the track frame and the track shoe as a safety measure. Use the travel controls of the crane to lay out the whole assembly of the track shoes on the ground.
Shoe Removal: With the track assembly lying down safely on the ground, access the four bolts attaching the defective shoe to the master link. It is important to make sure to loosen all bolts by one or two turns and ensure that they turn freely before removing them. Otherwise, any forced removal of tightly screwed bolts may cause damage to the bolts and the master link.
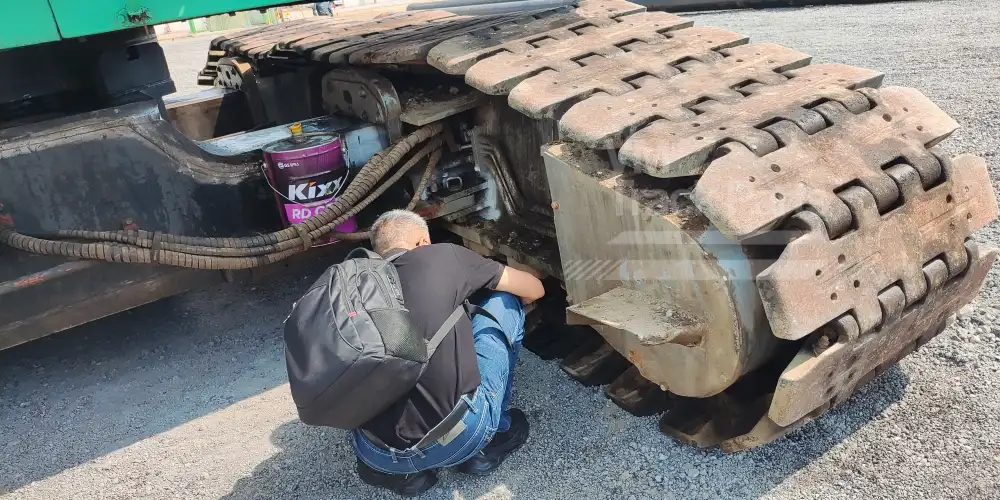
Step-by-Step Installation Procedure
Steps Involved in Installing New Track Shoe
Installing the Track Shoe: Install the new track shoe on the master link. Tighten all four bolts manually such that the mating faces of the shoe and the link come into tight contact.
Applying Torque on the Bolts: The four bolts need to be tightened using a particular sequence called the star or crisscross sequence. This ensures uniform pressure and fitment of the bolts. Torque values are very important in this respect. In a two-stage procedure, these bolts are tightened to the initial torque value followed by the final torque value. The final torque value may be expressed in terms of an angle of retightening.
Inserting the Master Pin: The hydraulic device should be used to insert the master pin into its place. It is extremely important to ensure that the protrusion of the master pin from the outside of the link is 2.5 ± 1mm.
Reinstall the Dust Seal: Before installing the dust seal, clean its contact surface and coat it with grease.
Adjust Track Tension: Re-engage the track by slowly moving the machine forward until the track is back on the undercarriage. Pump grease back into the adjustment cylinder until the track tension meets the manufacturer’s specifications.